As a photographer, here are some of the most common travel photography mistakes and how to avoid them!
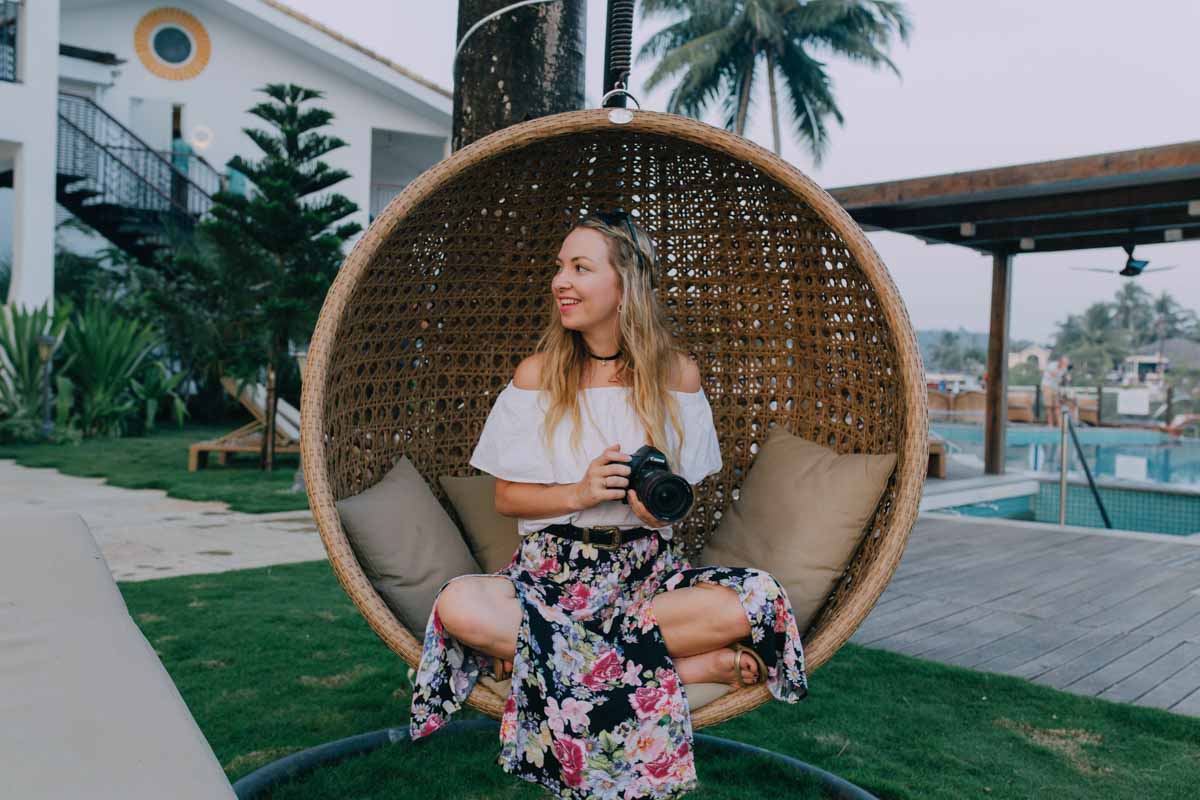
5 Common Photography Mistakes
1. Don’t go out and buy a big camera for the sake of it
This is probably the most common mistake of anyone who wants to take their travel photography to the next level. Bigger doesn’t always equal better when it comes to choosing a camera for traveling. At the same time, if you want to improve your travel photography, phone cameras don’t always cut it these days.
Don’t get me wrong- DSLR’s produce incredible results. I personally travel with a Canon 6D, but I will admit that it is a lot of weight to constantly carry around, especially when there are now more portable options on the market with equally as good image quality. Basically, you shouldn’t buy a camera that you aren’t willing to lug around everywhere with you. As soon as you start leaving your camera at home, you’ll miss the best moments.
Mirrorless cameras are the way of the future- they are smaller and lighter than your traditional Canon/ Nikon DSLR’s but still offer interchangeable lenses, manual settings, and good image quality. Most models these days also come packed with features such as tiltable screens and built-in wifi. Check out models like the Olympus OMD E-M10 or the Sony Alpha a6000.
2. Don’t just take the cliche shot
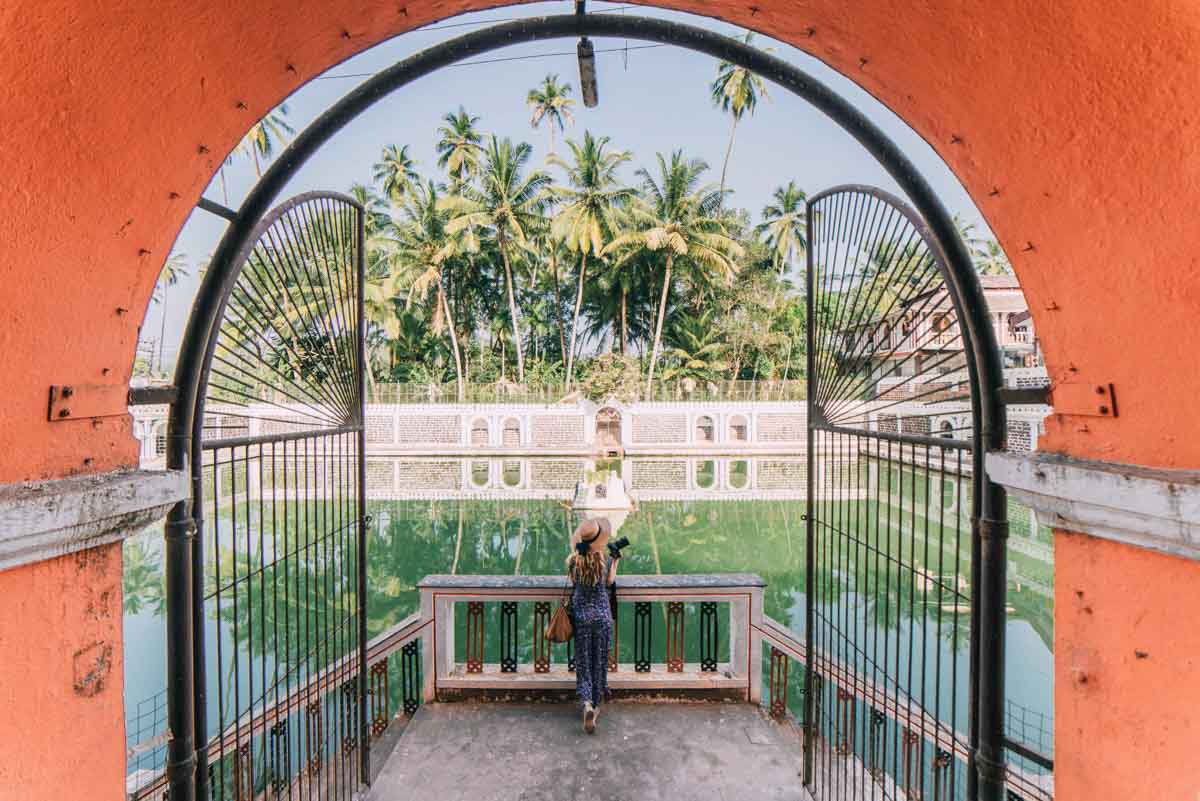
Take one super cheesy “holding the leaning tower of Pisa shot” and then spend the rest of your time getting more creative! There are two ways you can get shots that are different from everyone else’s. Firstly, don’t flock to the super typical vantage points where everyone is lining up to take their photos. Instead, look around for another place to get snap happy- it might be up a hill or around the back of an attraction…
Firstly, don’t flock to the super typical vantage points where everyone is lining up to take their photos. Instead, look around for another place to get snap happy- it might be up a hill or around the back of an attraction… Basically, anywhere away from the crowds will do the trick!
Secondly, find at least one point of interest or difference in every shot you take. Whether this is having something in the foreground, waiting for that moment when a bird flies over the horizon or jumping in the shot yourself, always find something to make your photo unique.
3. Don’t shoot during the middle of the day
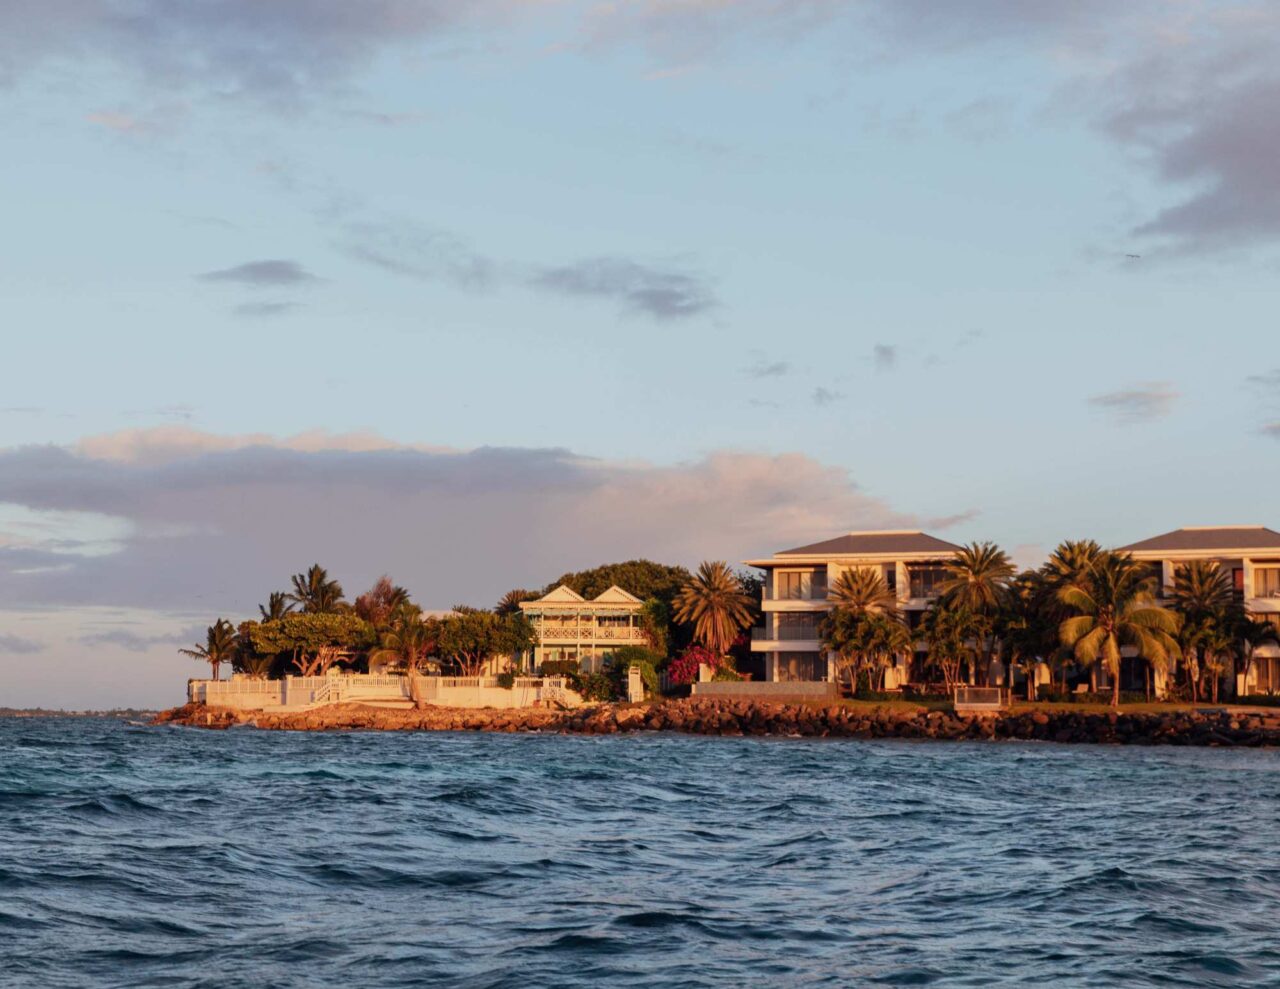
The time of day you take photos makes ALL the difference. During the middle of the day, you’ll find the lighting is very harsh, which is never the most flattering light to take photos in. If you really want to improve your travel photos, head out at sunrise or sunset. You’ll literally see the whole world in a new, dreamy, soft light. Even un-photogenic places become photogenic during these golden hours, and the unpredictablility of the lighting will bring another unique element to your photos. Plus- if you get up at sunrise, you will generally have most places to yourself so you won’t have to worry about people photo-bombing your images!
Also, don’t put your camera away as soon as the sun has disappeared beneath the horizon. My favourite time of day to shoot tends to be just after sun set, when the sky is still a million different colors and the lights of the city start to go on. As there is a lot less light during these times, you’ll need to use a slower shutter speed for these images. You might want to consider getting a small, flexible tripod like the Joby Gorillapod so that you can capture these long exposures.
4. Don’t underestimate the power of editing
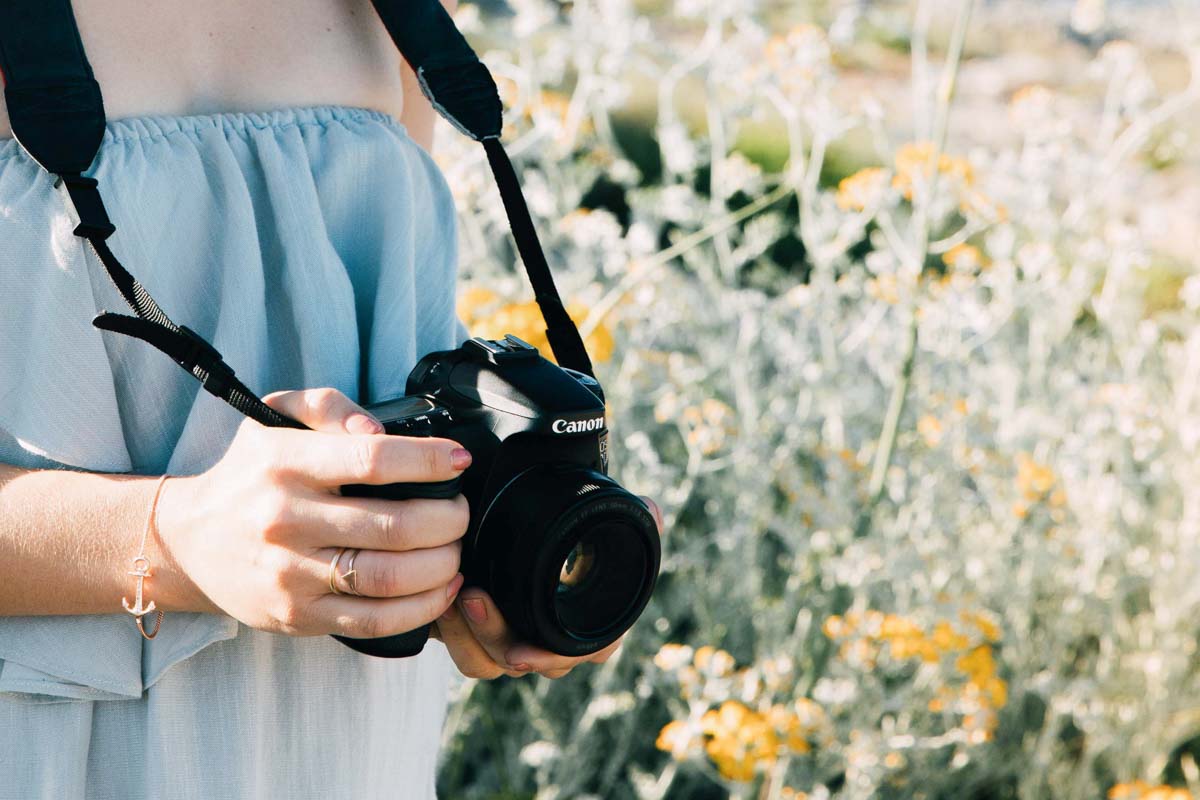
Photo editing is a very powerful tool that we ALL have access to these days. Whilst I would highly recommend Lightroom and Photoshop for those who want to get serious about their photography, you can get some really good photo editing on your phone.
My favourite photo editing app would have to be Snapseed- it’s a free app that will work wonders to make your images pop. Try the ambiance tool to bring out the colours in your photos and the structure tool to bring out the clarity/ textures and make your photos look super sharp.
My other two most regularly used apps are Afterlight and VSCOcam. Both have a great range of really nice filters you can apply to your photos. I would always recommend tweaking a filter’s settings and opacity when applying them to your photos- not every filter works on every photo and sometimes you just need to tone them down a little to make them work. Download any of these apps and say hello to better travel photos in an instant!
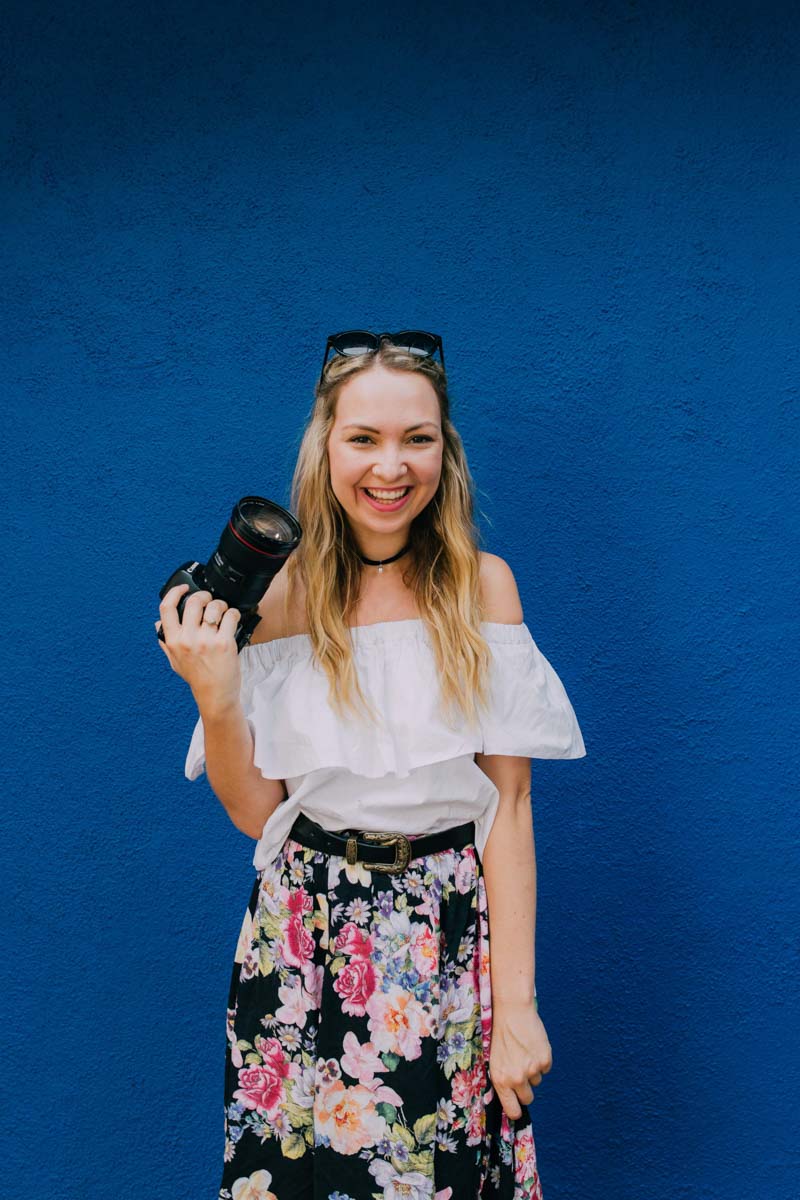
5. Don’t stop snapping
Taking great photos, like anything, requires practice. The best thing you can do is just keep snapping! If you aren’t happy with the way your photos are turning out, try researching some basic techniques for manually using your camera. Keep practicing, and you’ll find taking a good photo comes more naturally in time. You’ll be on track to improving your travel photography and taking better photos in no time!
Found these tips on travel photography helpful? Pin this article!
